

How to Make a Simple Origami Crane Mobile
As you maybe already know, I am currently living in a sublet in Berlin. This means that I have very little furniture and stuff of my own. And most of all: no decorations. Because who packs decorations when you are living out of a suitcase, right?
Living like this made me realise how much a painting on a wall, or a pillow on a sofa can make a house feel more like home. So I have been looking into making a few decoration pieces, I don't want to invest too much money into buying things to personalise my temporary home, but I also still want it to feel homy and a bit more 'me' instead of an empty sublet.
Combine the decoration cravings with my latest origami obsession and you have a renters-friendly-decoration-solution!
It was so simple to make and it doesn't have to cost a thing, yes you read that right: you can make this project for free! All you need is paper, and a few pieces of rope/twine/ribbon.
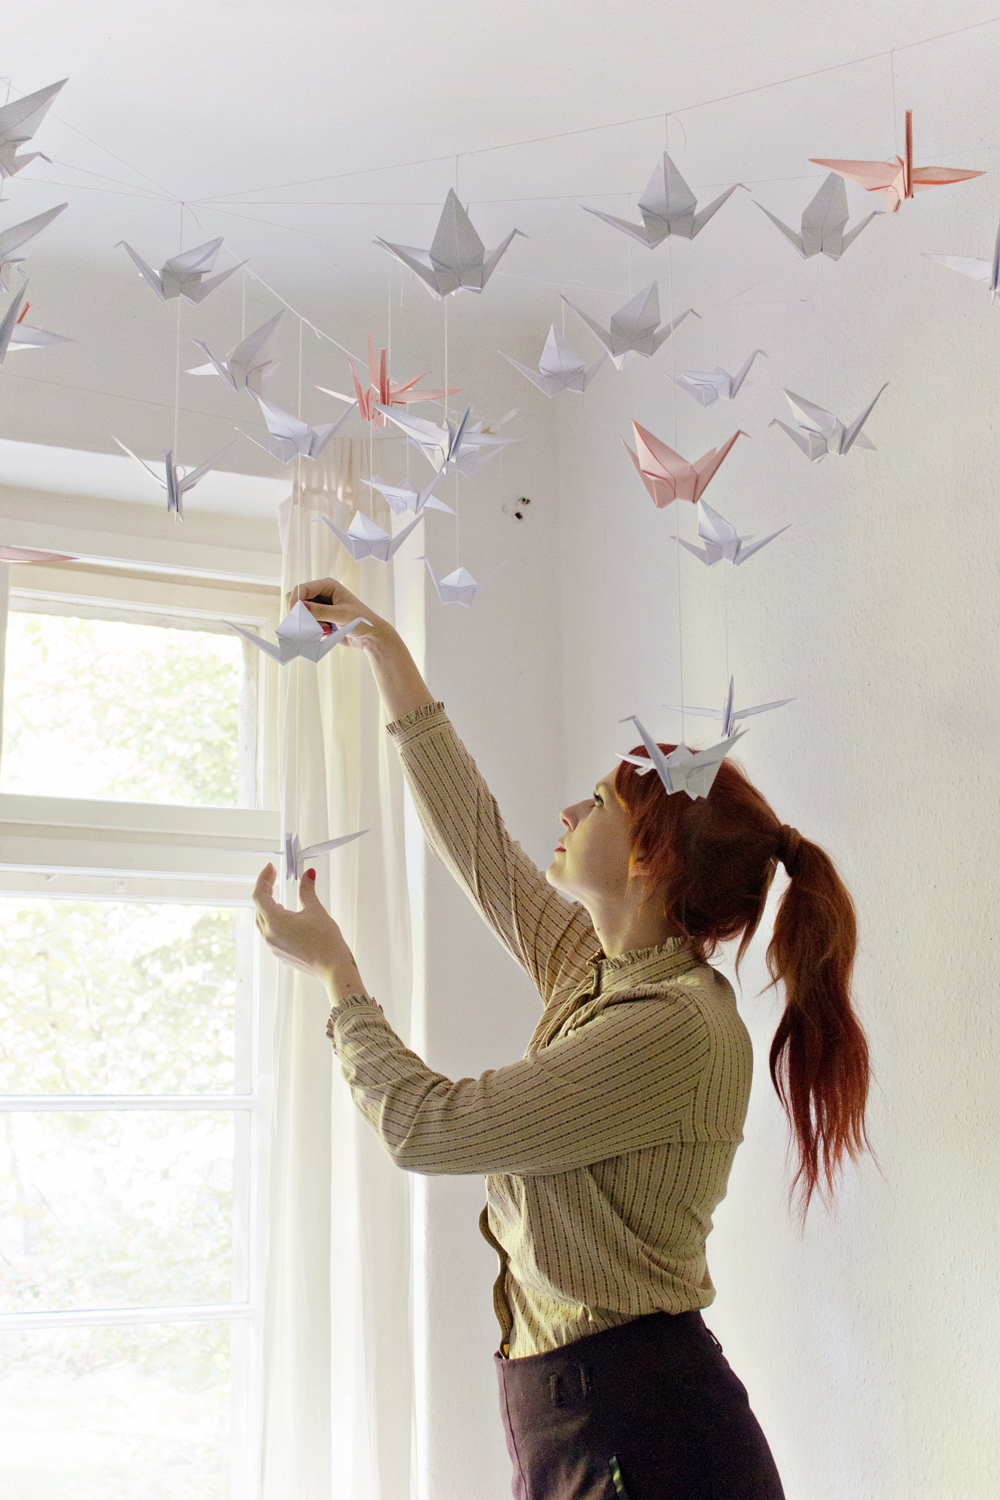
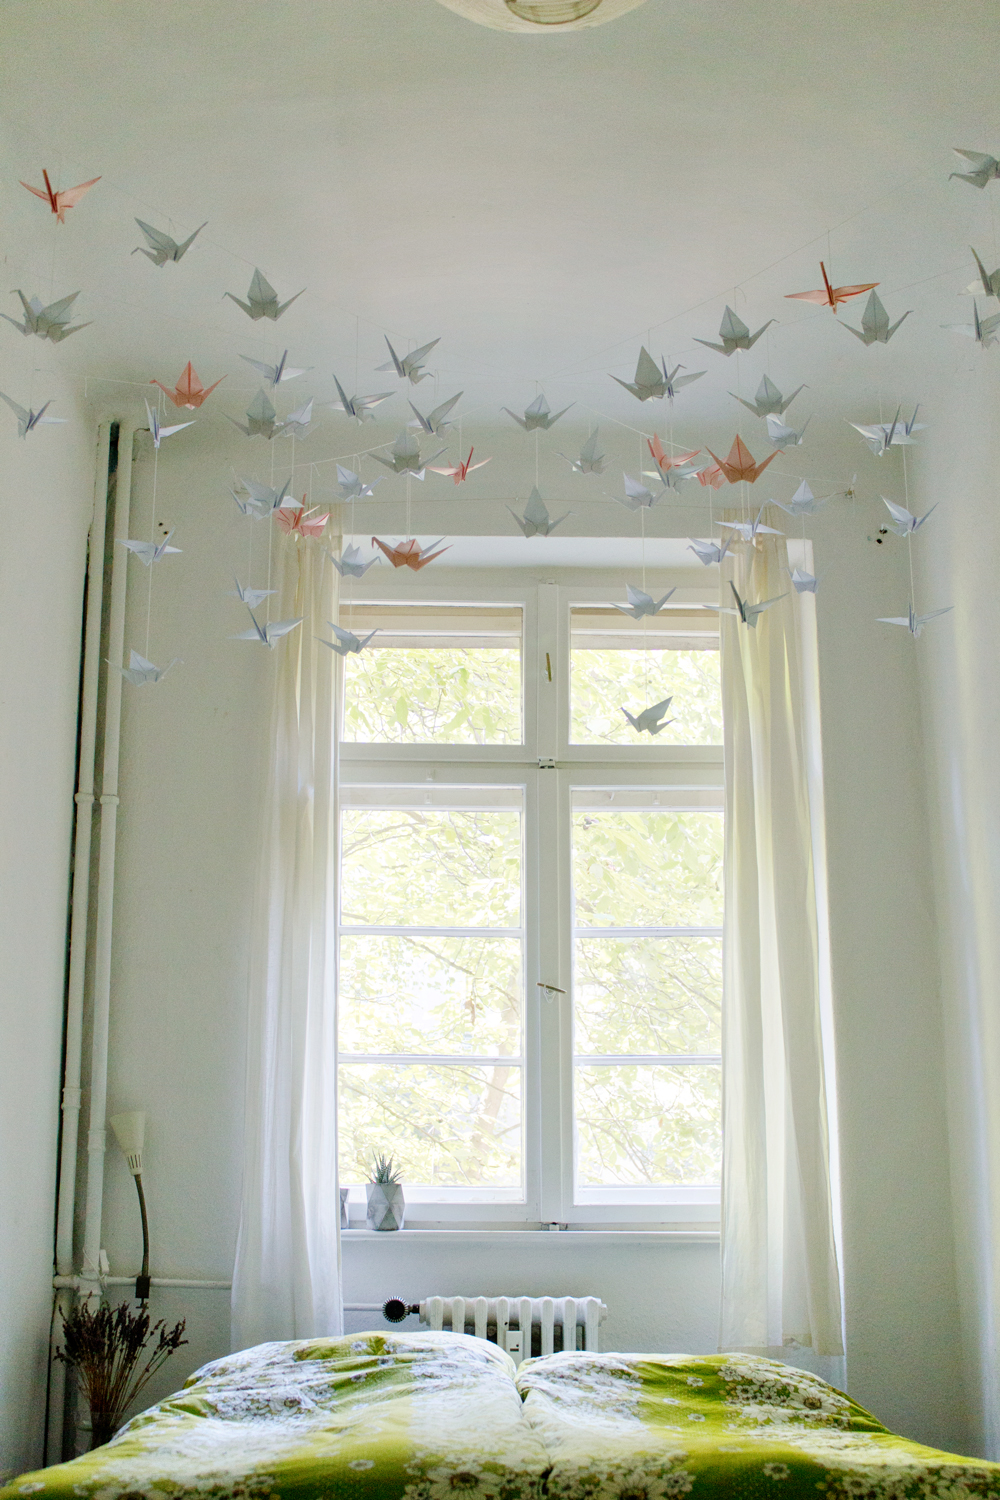
I have the origami crane installation above my bed, which is so magical. It makes me smile every time I wake up and look up. But you can hang this anywhere: above a sofa, a dining room table or even better: a kids room!
DIY
**Extra note before we begin: I use small nails in the wall to secure the origami structure. If your renters home doesn't allow you to use those, you can opt for lightweight paper, like crepe paper to create the cranes. And use washi tape to hang the structure, to avoid damaging the walls.
STEP 1
– Folding the origami cranes. There are so many great instructions online on how to fold an origami crane that it felt strange to add yet another step by step. So here are two of my favourite instructions that are extremely easy to follow:
Step by Step PHOTO instructions for folding a paper crane: click here
Step by Step VIDEO instructions for folding a paper crane: click here
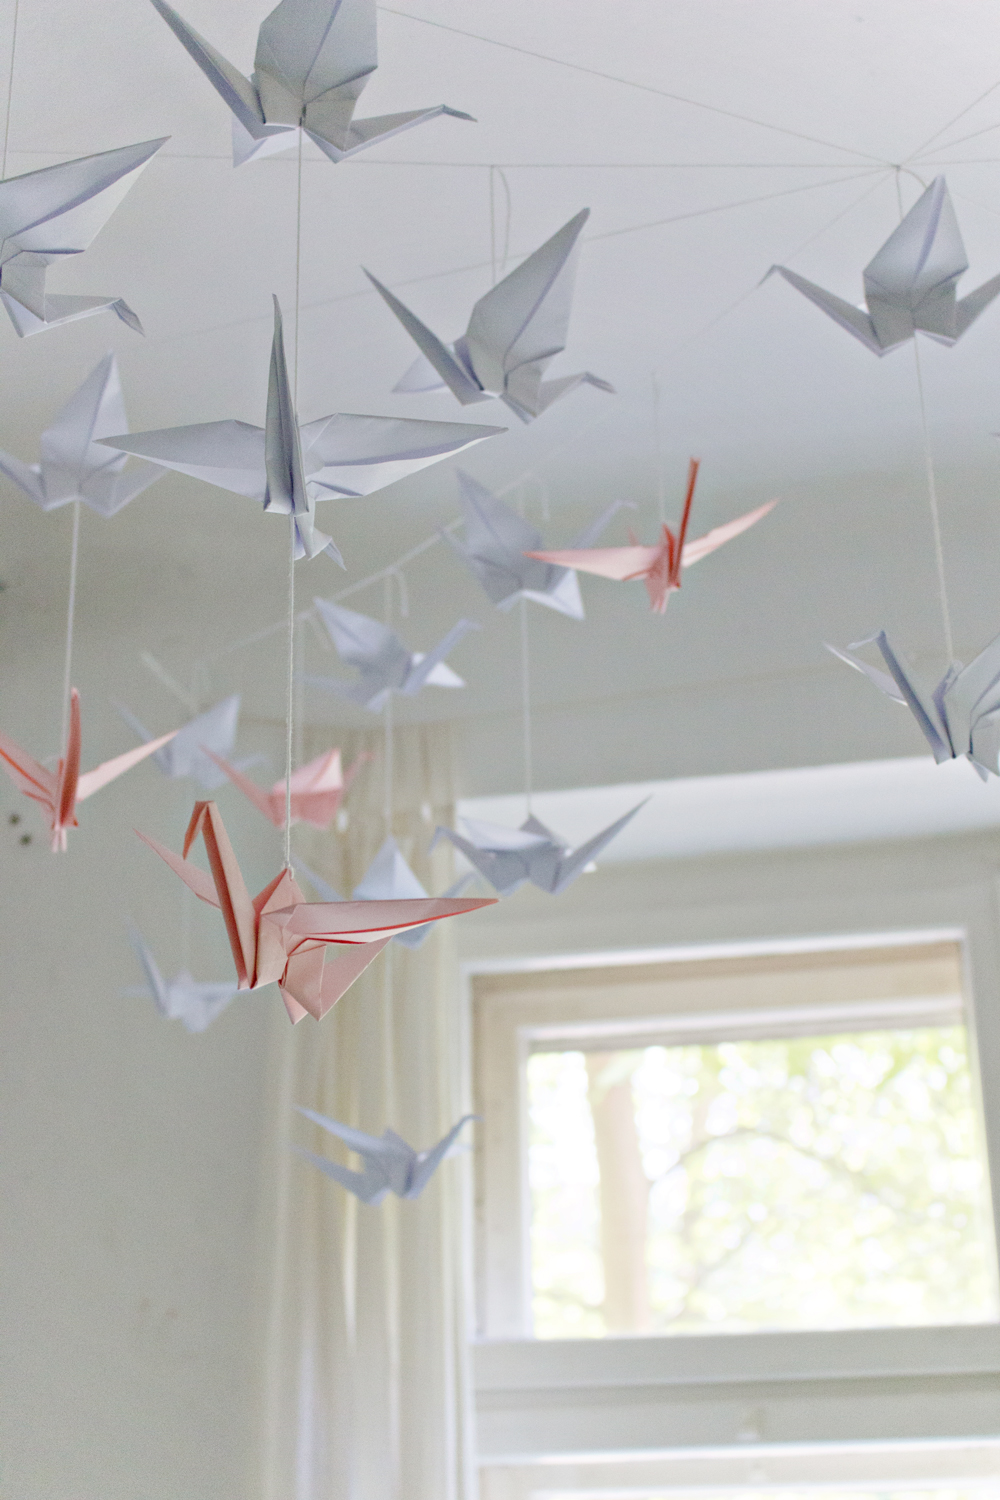
– Fold as many as you like. You can mix and match with colours, paper (old newspapers for example) and even sizes.
STEP 2
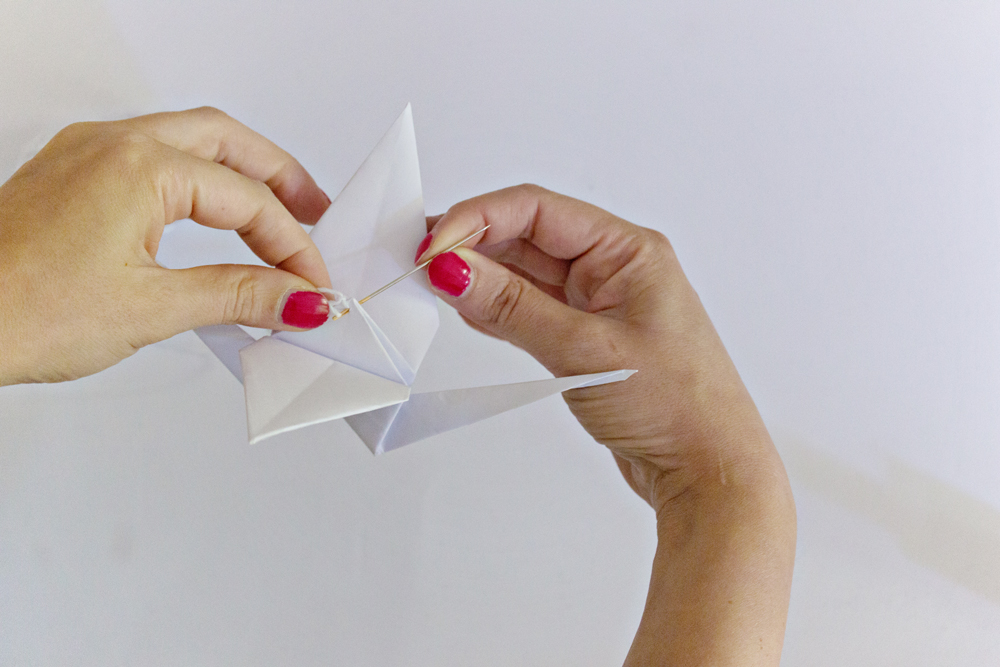
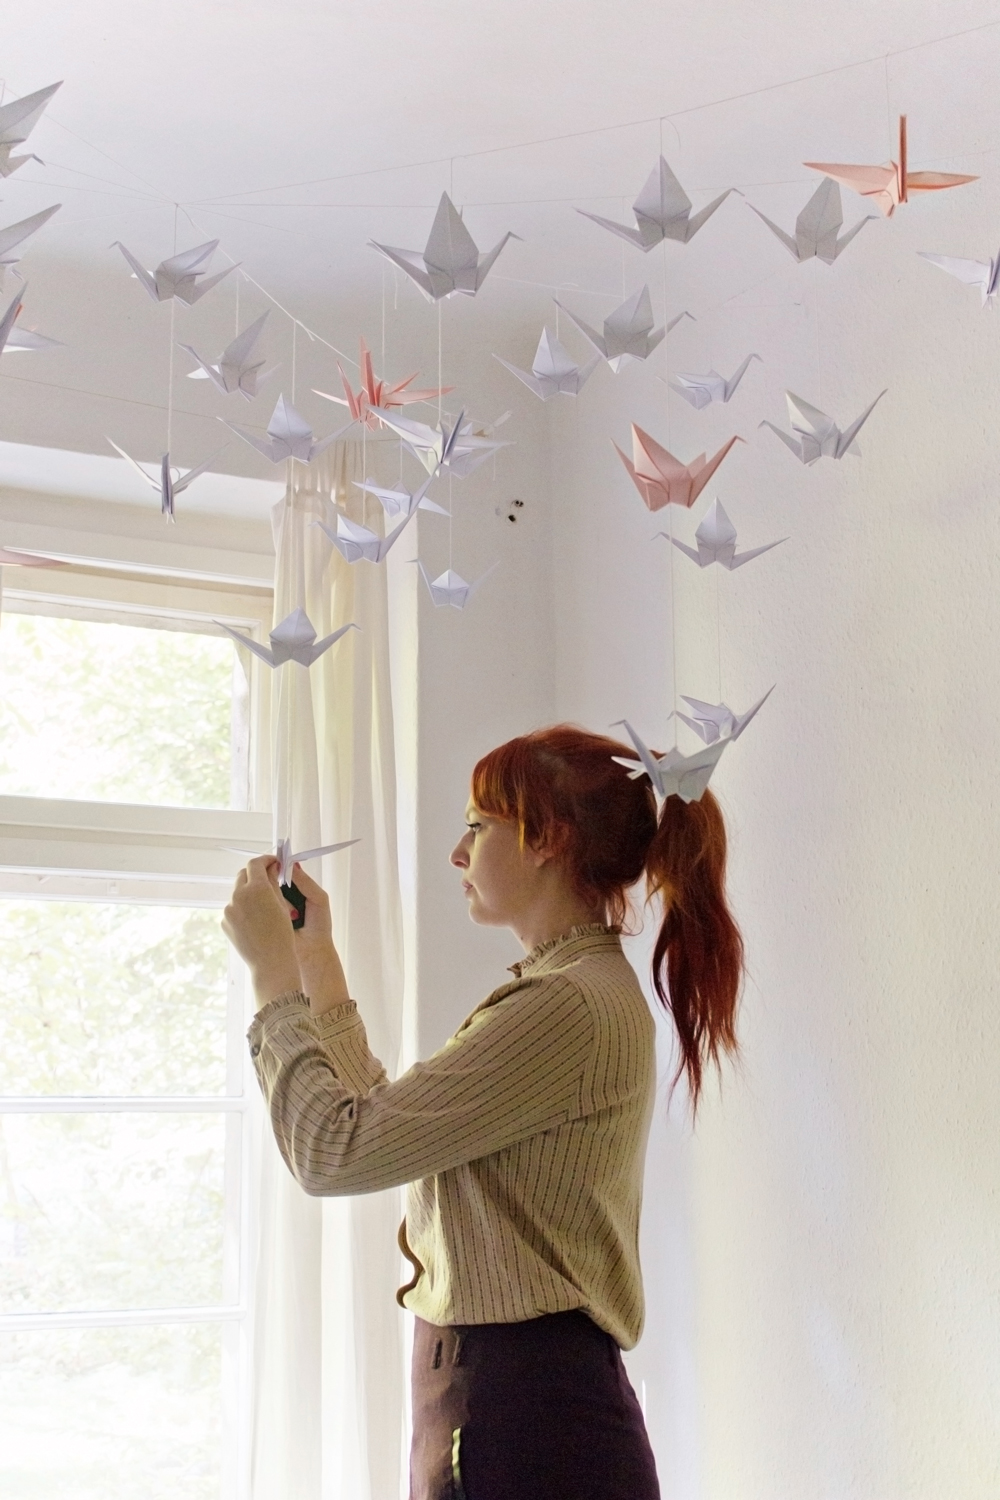
– For hanging a single origami crane, take a large needle and pull your thread through. Insert the needle in the top of the middle part (see photo above). Pull through and tie a knot to secure.
STEP 3
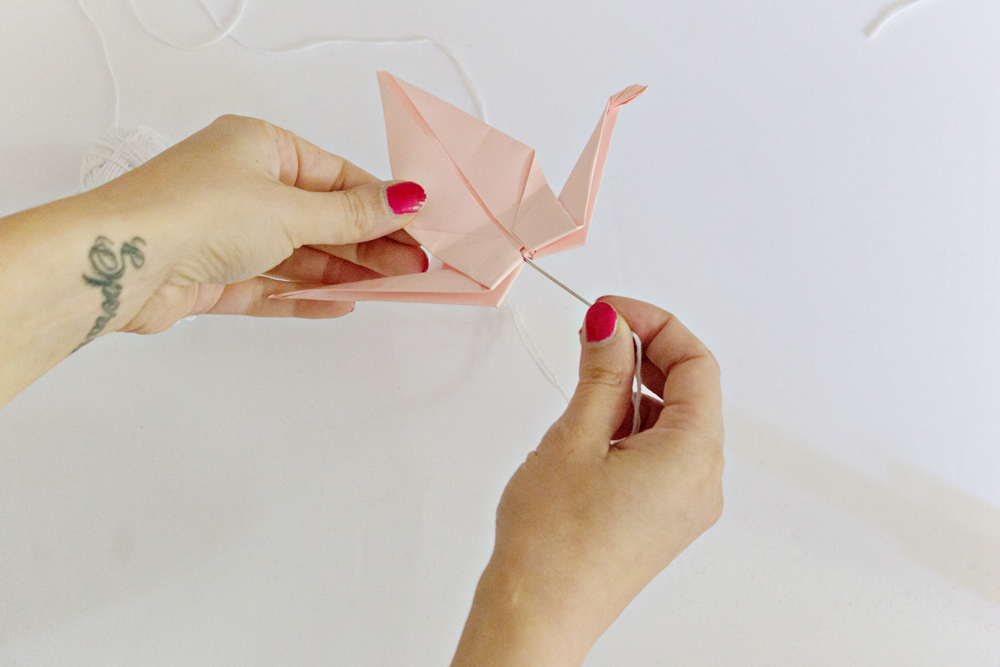
– For hanging more than one origami crane on a strand, secure a long thread on the top of an origami crane as shown in step 2.
– Use the same thread and insert it with your needle into the bottom of the crane. Push it all the way through to the top en secure it at the top with a knot.
STEP 4
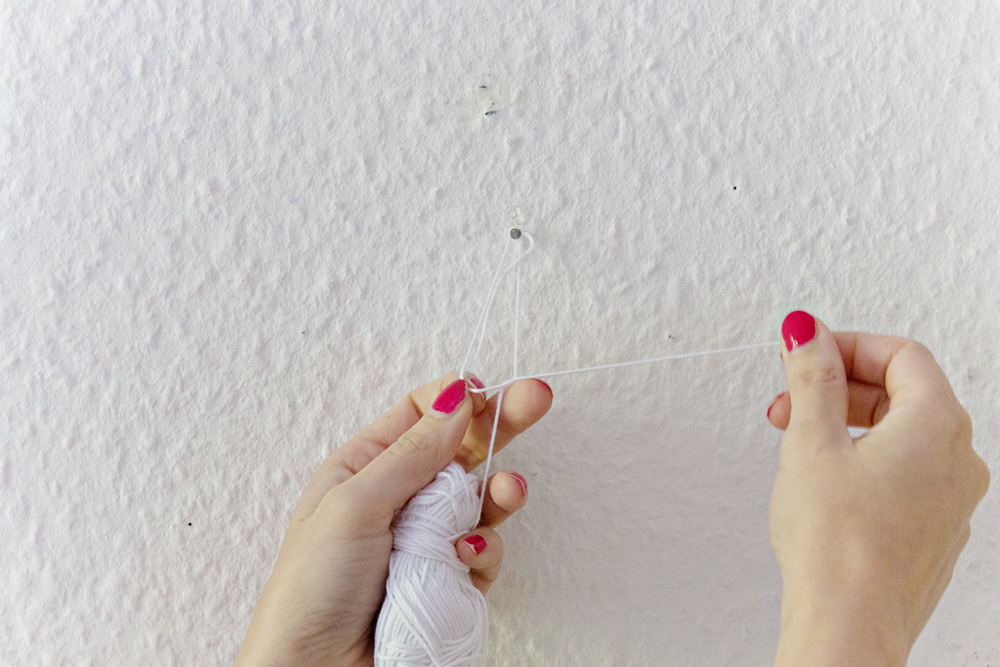
– After you have prepped all of the cranes, prepare the hanging structure on the ceiling/wall. I used very small nails in the wall, 4 nails on each side spread evenly.
– Tie the thread around one nail and secure with a knot. Pull the thread over the the other side of the room (or another point on your wall/ceiling) and secure onto another nail with a knot.
– Repeat this for as many thread you need to hang your cranes.
STEP 5
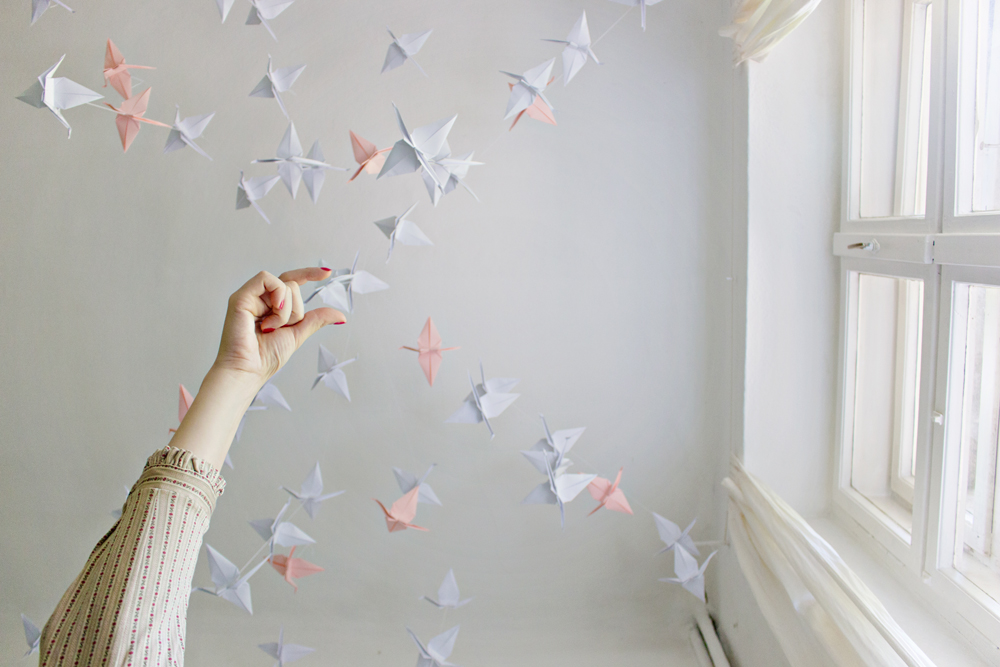
– Hang your cranes onto the basic structure. Mix and match with hight to create a playful effect.
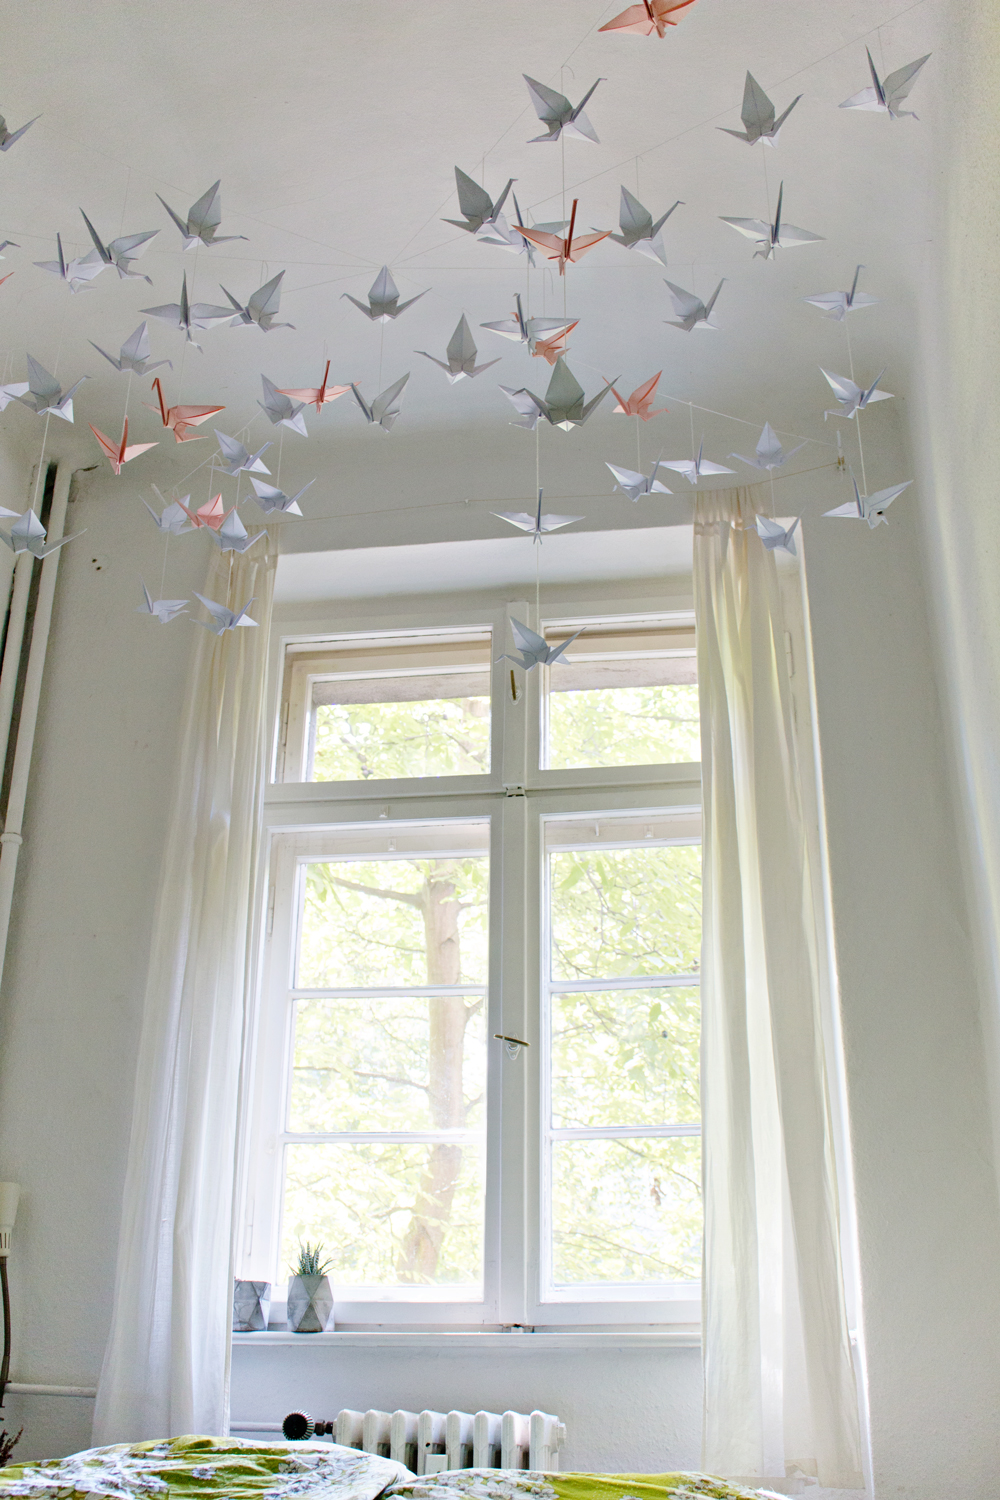
It is a magical view to wake up to: hanging the origami cranes above your bed. And when I open my window, the wind let's them dance and fly on the ceiling. Also at night when my reading light is on, they create a beautiful shadow on the walls.
Where would you hang your paper crane installation?
Sign Up for the LRS Newsletter
Be the first to receive lots of crafty news!
Get ready for more creative articles:
How to Make a Simple Origami Crane Mobile
Source: https://www.lanaredstudio.com/2016/09/diy-renters-friendly-origami-ceiling-decoration.html
0 Response to "How to Make a Simple Origami Crane Mobile"
Post a Comment