

How to Fold Origami Box With Cover
It is so easy and fun to make your own little origami boxes with lids! I love using the pretty scrapbooking paper, but you can use newsprint, wrapping paper — any kind of paper! They are perfect to use as gift wrap for presents, or fill with candy.
You need to start with a square of paper. This will show you the step-by-step process on how to make an origami box with a lid using a 12″x12″ square of paper that is used for scrapbooking. This makes it easy — you don't need to cut the paper!
Your finished size bottom of the box is 1/3 of the original size of the paper. So, my finished box bottom is 4″x4″. The sides are 1/6 of the original size, so a 2″ depth. My finished box is 4″x4″x2″. You can use these calculations to make any size box you'd like!
Step 1 for making an origami box with lid:
Start with two pieces of paper. I love these prints together and will use the small print for the bottom of the box, and the large print for the top.

Step 2:
Let's make the bottom first. Take your piece of paper and fold it in half lengthwise.

Step 3:
Then fold it in half the other direction so that the fold lines form 4 squares within the square. Next, fold each corner in to form triangles.
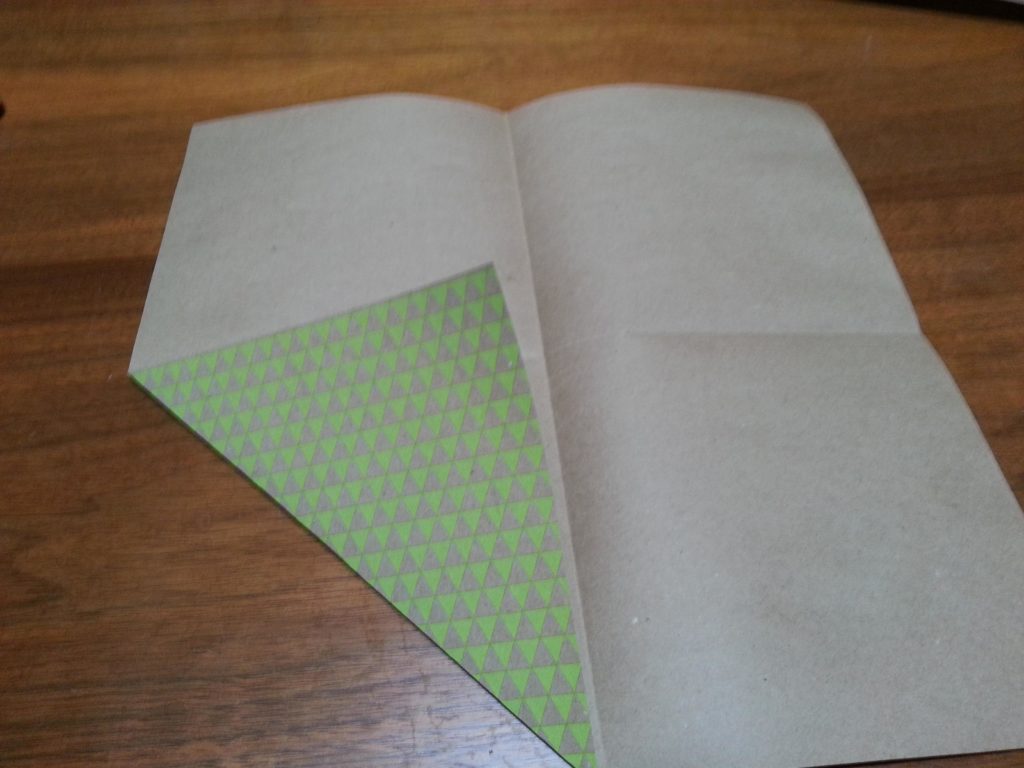
Step 4:
Fold all four corners into the center forming a square.
Step 5:
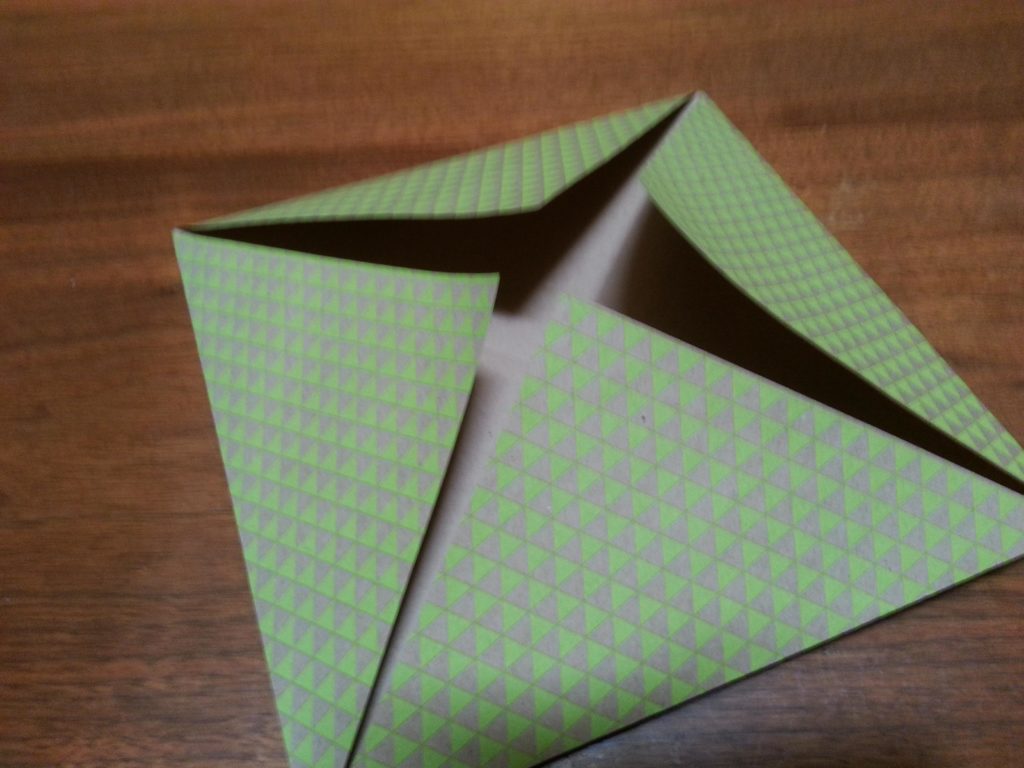
Open two opposite triangles out and fold the long edges to the center line. Tip: Crease your folds well, and you'll have a nicer finished box.

Step 6:
Open the other sides and do the same fold to the center.

Step 7:
Fold the other sides to the center.
Open the top end, and you can see you have a fold for each of the corners.

Step 8:
Open up the sides and fold the top end in. The first time is a little tricky, but think of how gift box corners fold in. Here is the first side folded in:
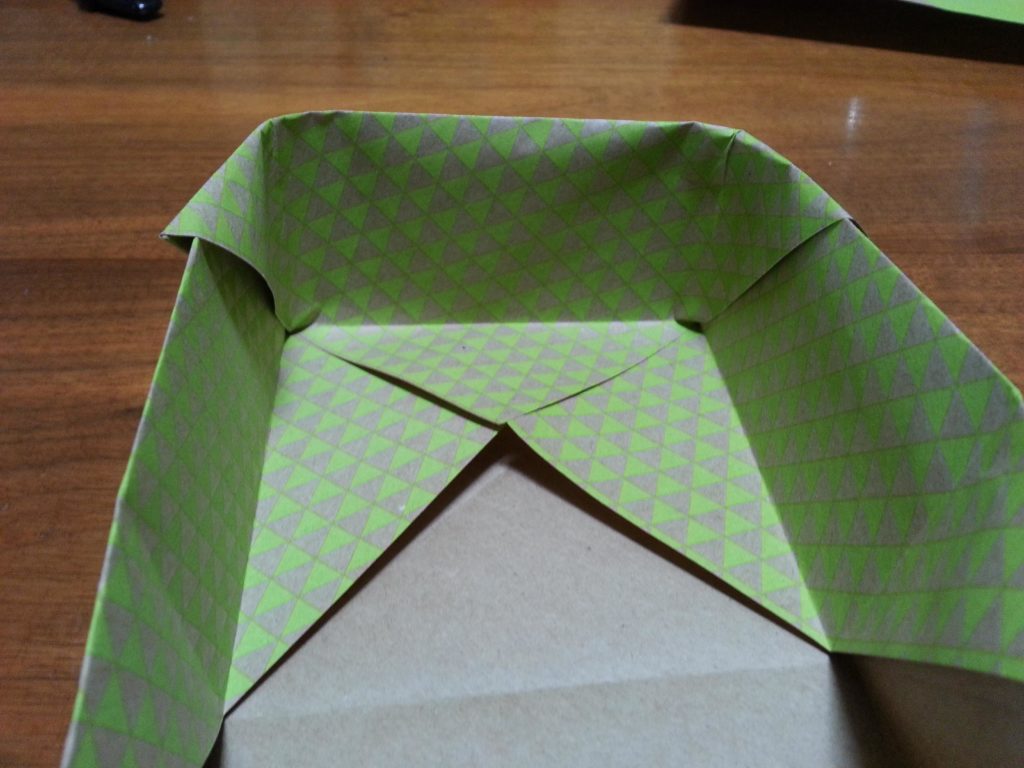
I didn't crease my folds enough on this one – and it shows. For a cleaner edge on your box, make nice creases in your fold lines!
Step 9:
Then fold the other side in, and you have the bottom of the box!

Now we are ready to make the box top. We'll follow the same basic directions, except make it just a little bit bigger.
Step 10:
Start with your square of paper. Fold it in half both directions, and then fold the corners into the middle.

Step 11:
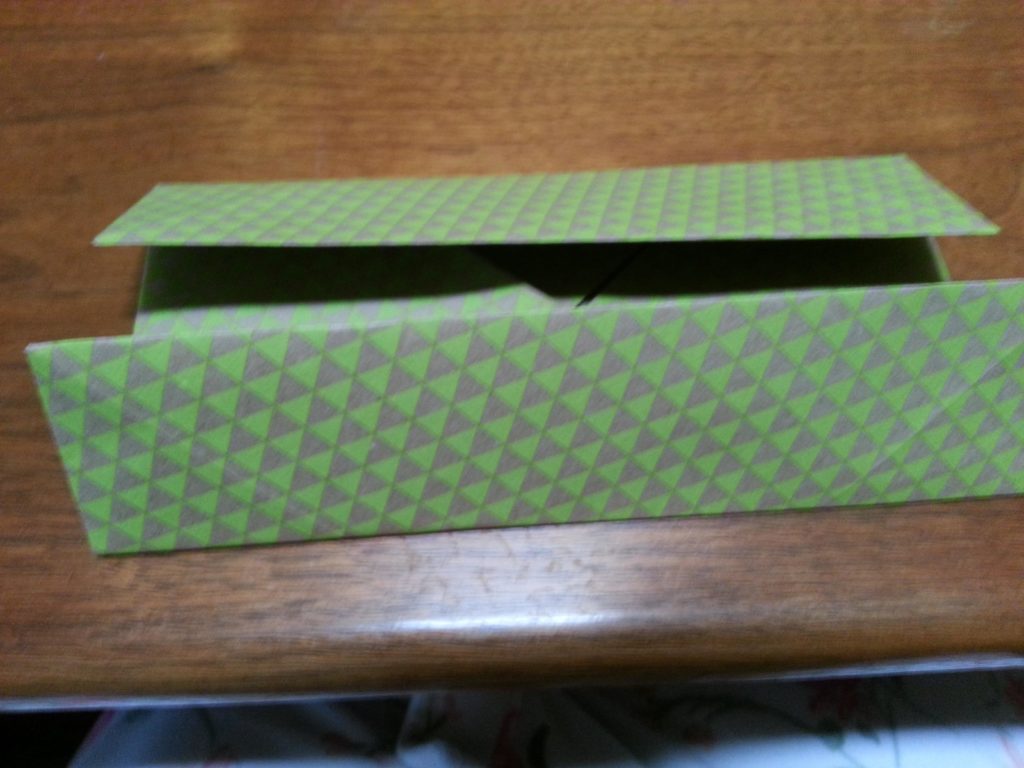
Here is the change from the bottom box. When you open one set of triangles and fold the sides in, don't fold all of the way to the center line. Instead, fold to about 1/8″ from the center. This will make this part of the box slightly larger, so that it easily fits over the box bottom.

This looks like a big gap, it really isn't – it is about 1/4″ gap with both sides folded in, leaving a 1/8″ gap on each side.
Step 12:
Once both sides have the long fold line, open up one end and tuck in like we did before to make the box.

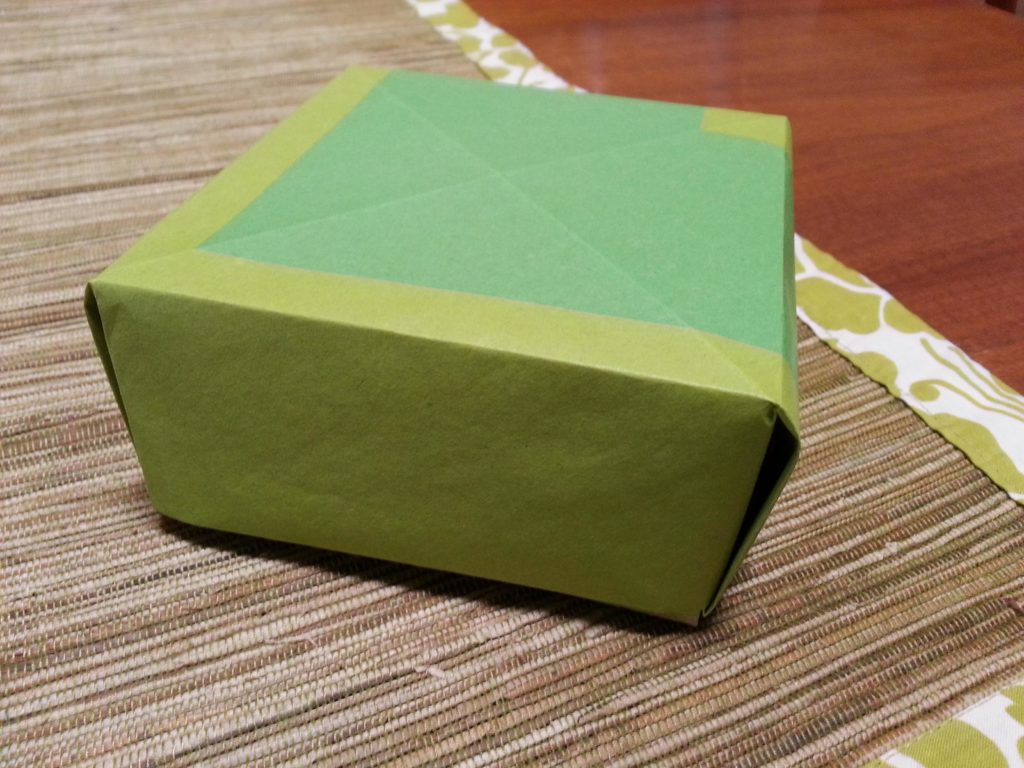
And, the finished top to our origami box!

And the finished box!

Browse through more paper crafts and projects on Create Whimsy.
How to Fold Origami Box With Cover
Source: https://createwhimsy.com/projects/how-to-make-an-origami-box-with-lid/
0 Response to "How to Fold Origami Box With Cover"
Post a Comment